

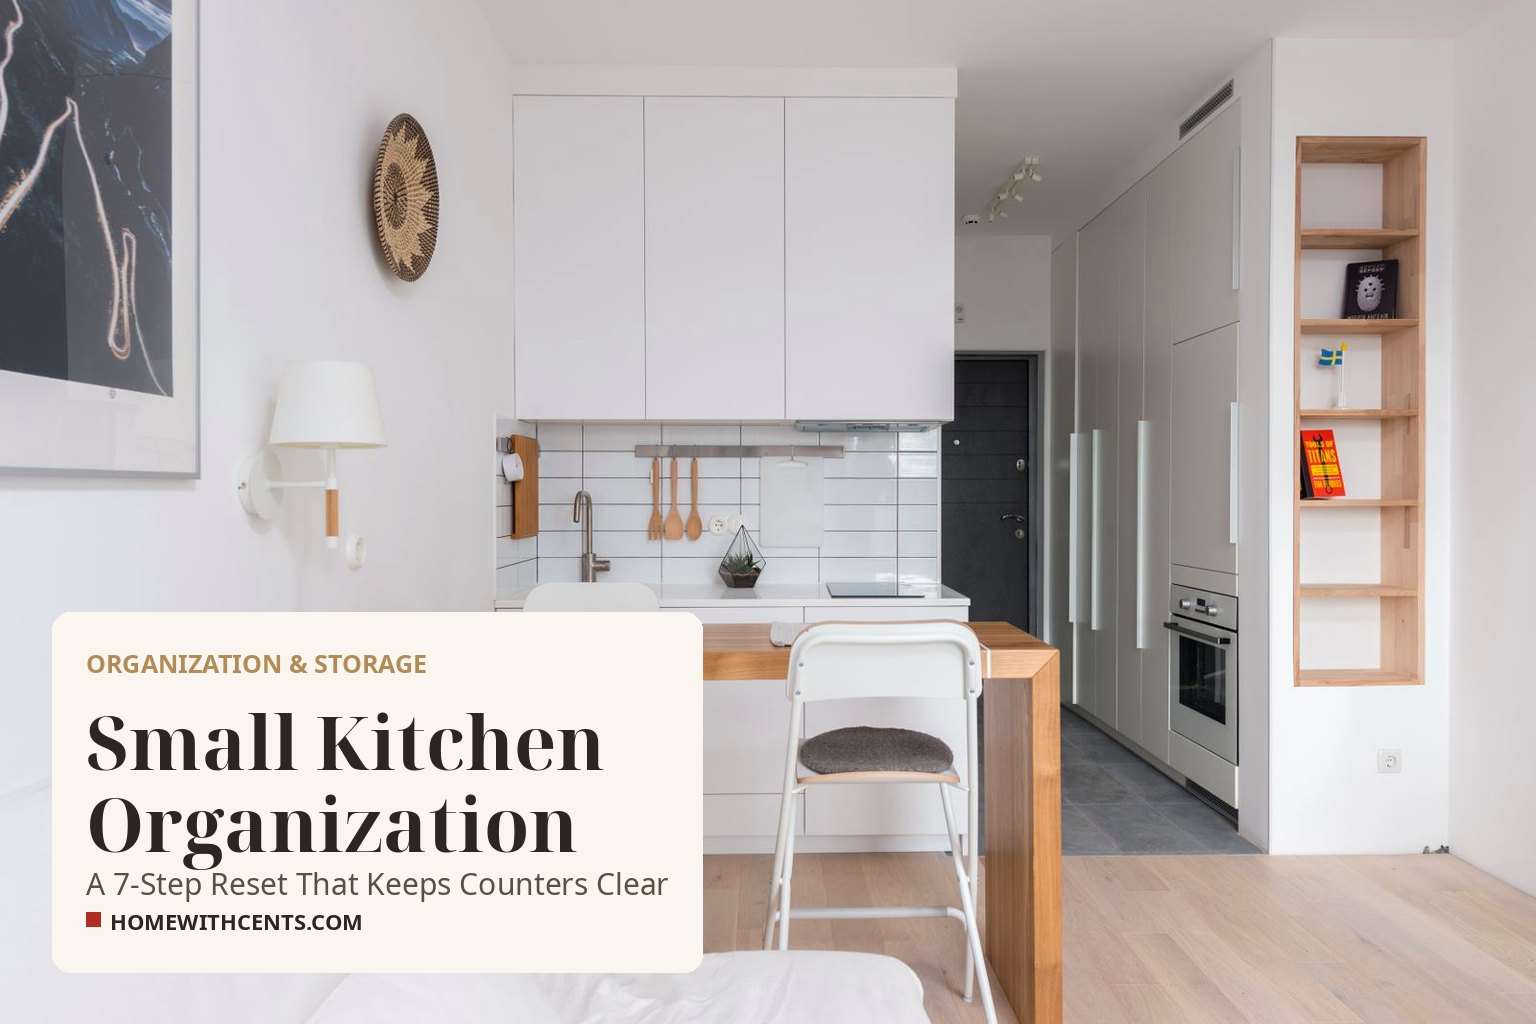
If your kitchen counters disappear under mail, appliances, and “I’ll put that away later” piles, the problem is not the size of your kitchen. It is that nothing in it has an assigned home. In a small kitchen, every item either has a spot or it lives on the counter — there is no in-between. That is the core problem small kitchen organization solves.
This small kitchen organization reset fixes that in one afternoon. It is built for renters and small apartments: no drilling, no new cabinets, nothing you cannot undo on moving day. You will empty, zone, and rebuild your kitchen in seven steps, and finish with a simple system that keeps counters clear instead of sliding back into chaos by Friday.
Time: about 2 hours. Cost: $0 with what you own, or under $25 if you add a few dividers and risers. Skill level: none. If you can empty a cabinet, you can do this reset.
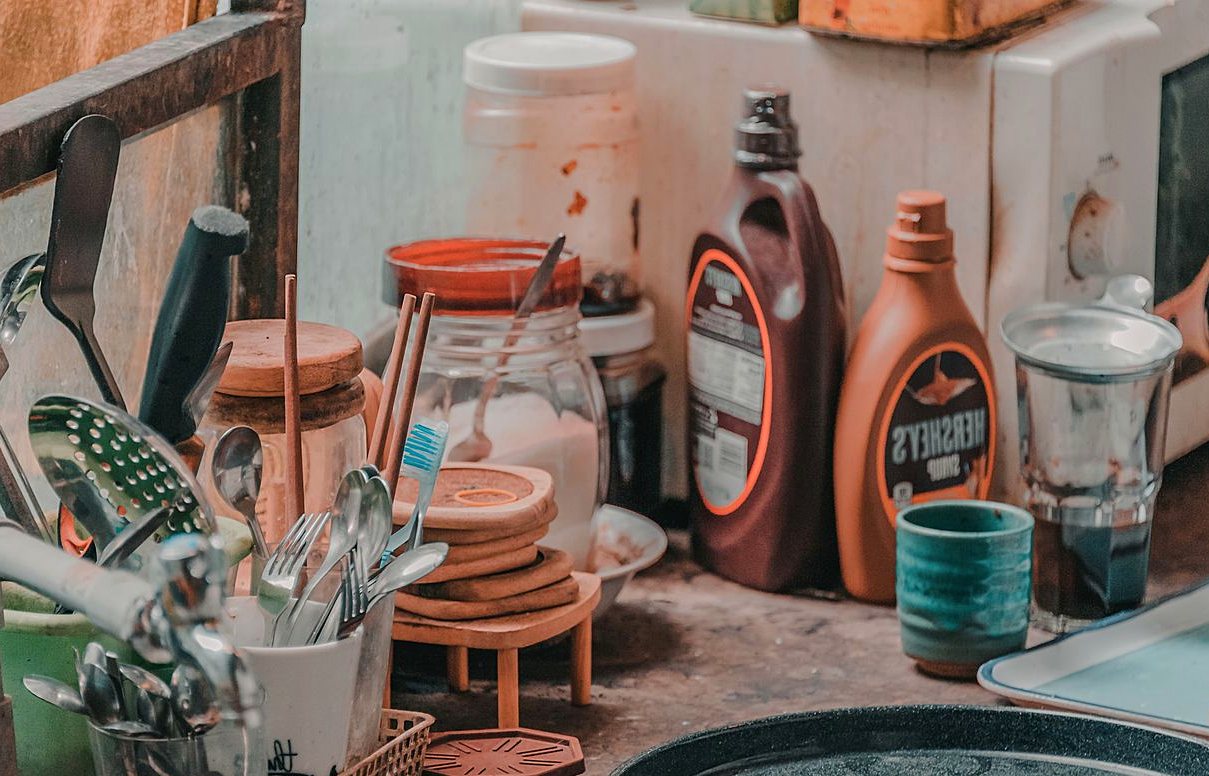
The 7 Steps at a Glance
- Empty everything out and sort it honestly
- Give your kitchen four zones
- Rebuild cabinets by how often you use things
- Fix drawers with dividers (one drawer, one job)
- Go vertical — walls, doors, and the space above
- Tame the sink and the cabinet under it
- Set the keep-clear rules so it stays done
Before You Start: Take Three Measurements
Grab a tape measure and note these three numbers in your phone. They decide which organizers will actually fit, and they are the reason most “organization systems” fail in small kitchens — they were bought for a bigger kitchen than yours. Good small kitchen organization starts with numbers, not shopping.
- Cabinet shelf height — the clear space between shelves, for risers and stackable shelves
- Drawer depth and width — measured inside the drawer, for dividers
- Under-sink clearance — the height and width around your pipes, for bins
That is the whole prep list, plus three empty boxes or bags: one for donations, one for trash, one for “this does not belong in the kitchen.”
Step 1: Empty Everything Out and Sort It Honestly
Do not try to organize around your stuff. Take everything out of the cabinets and drawers — yes, all of it — and wipe the empty shelves while they are bare. It looks worse for about twenty minutes, and then it gets much, much better.
Sort into four piles as you go:
- Use weekly — your real kitchen. This is a much smaller pile than you expect.
- Use monthly — the roasting pan, the blender, the good serving bowl.
- Never use — donate or store outside the kitchen. Be honest about the bread maker.
- Not kitchen at all — batteries, tools, mail, chargers. These are counter-clutter in disguise.
Most small kitchens are trying to store about 30% more than they need to. This step is where that 30% leaves, and it is why the rest of the reset works.
Step 2: Give Your Kitchen Four Zones
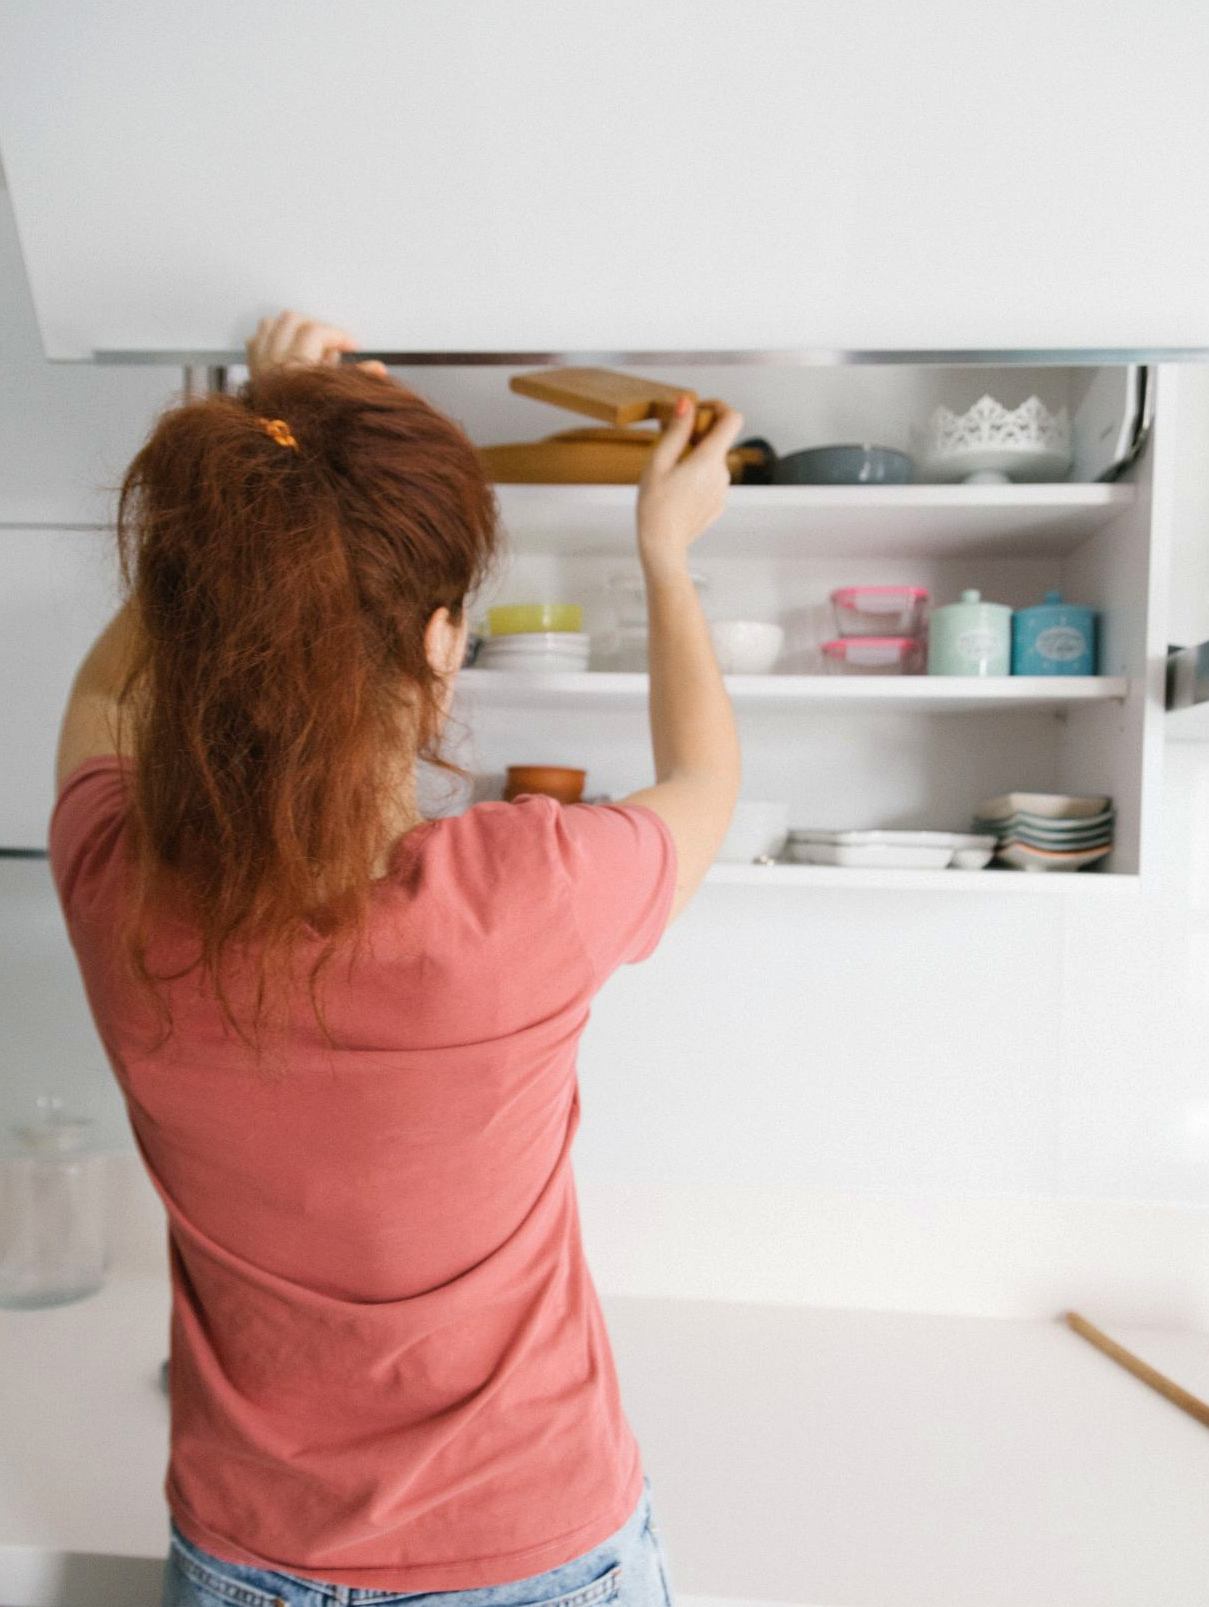
Professional kitchens are fast because everything lives where it is used. Your small kitchen needs the same logic, in miniature. That logic is small kitchen organization at its best.
- Prep zone — near your main stretch of counter: knives, boards, mixing bowls, oils
- Cooking zone — around the stove: pans, utensils, spices, oven mitts
- Cleaning zone — around the sink and dishwasher: soap, brushes, towels, trash bags
- Landing zone — one small, deliberate spot near the door for groceries and bags, so they stop landing everywhere
Here is the rule that keeps counters clear forever: nothing earns counter space unless it works in that zone every single day. The toaster that is used twice a month? It just lost its counter spot. It can live in a cabinet and visit.
A quick zone map for a typical one-wall or L-shaped rental kitchen: the cabinet above your prep counter holds mixing bowls and storage containers; the drawer below it holds knives and cutlery. The cabinet beside the stove holds pans (stacked with a protector or on their sides in a rack), and its drawer holds cooking utensils. Under the sink is cleaning only. The cabinet nearest the door becomes the landing zone’s backup — grocery overflow and reusable bags. If your kitchen has one awkward corner cabinet, give it the monthly appliances; corners are where daily items go to be forgotten.
Step 3: Rebuild Cabinets by Frequency, Not by Category
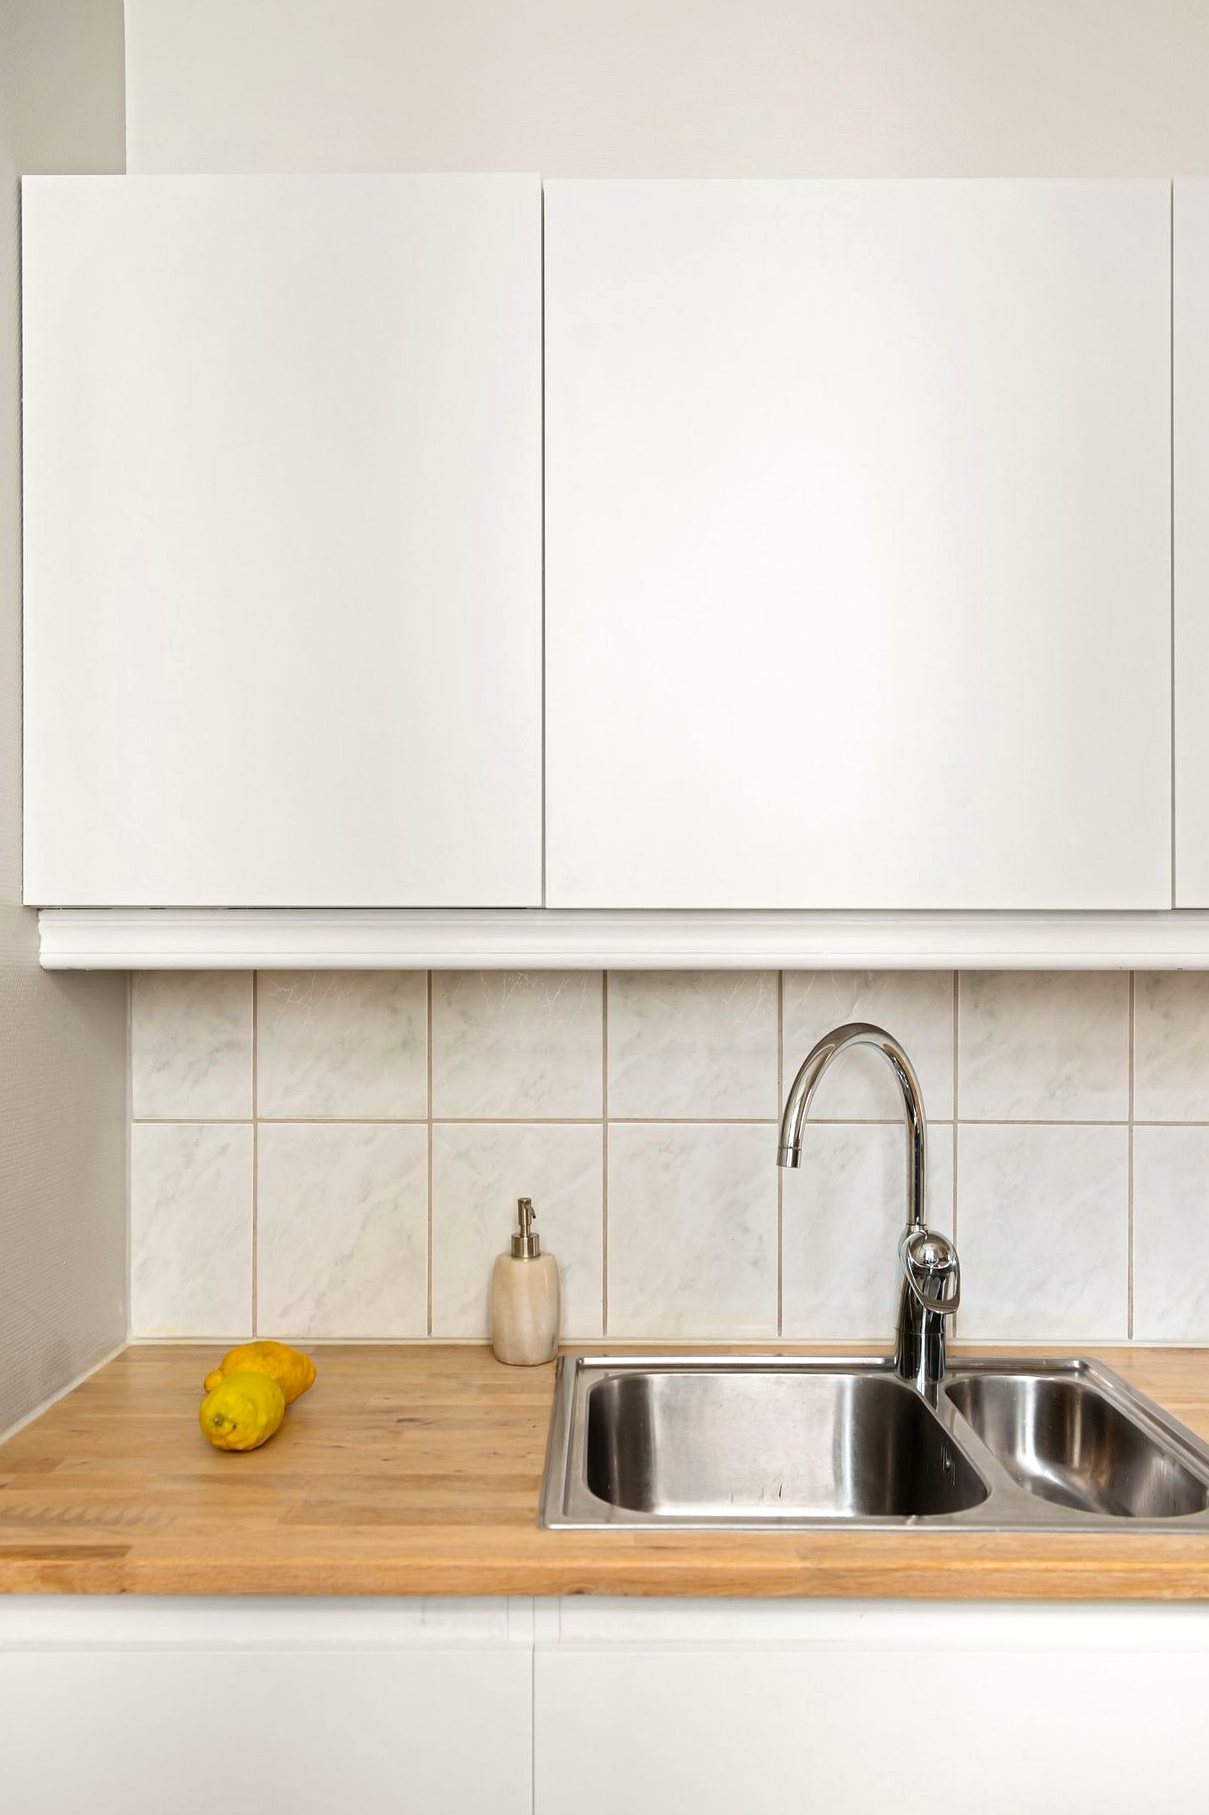
Put things back by how often you reach for them, not by what they are:
- Waist to eye level: daily plates, glasses, mugs, and your everyday pans
- Lowest shelves: heavy and monthly items — the Dutch oven, the roasting pan
- Highest shelves: yearly items only, or nothing at all. Empty top shelves are not a failure; they are breathing room.
Two cheap upgrades do most of the work in small cabinets. A stackable shelf riser doubles a tall cabinet shelf so cups stop hiding behind bowls (check your shelf-height measurement from earlier before buying). And decanting dry goods — pasta, rice, flour — into jars you already own clears the half-empty bag clutter that makes cabinets feel chaotic even when they are technically tidy.
Renters: everything in this step is shelf-only. No screws, no holes, nothing to explain to a landlord.
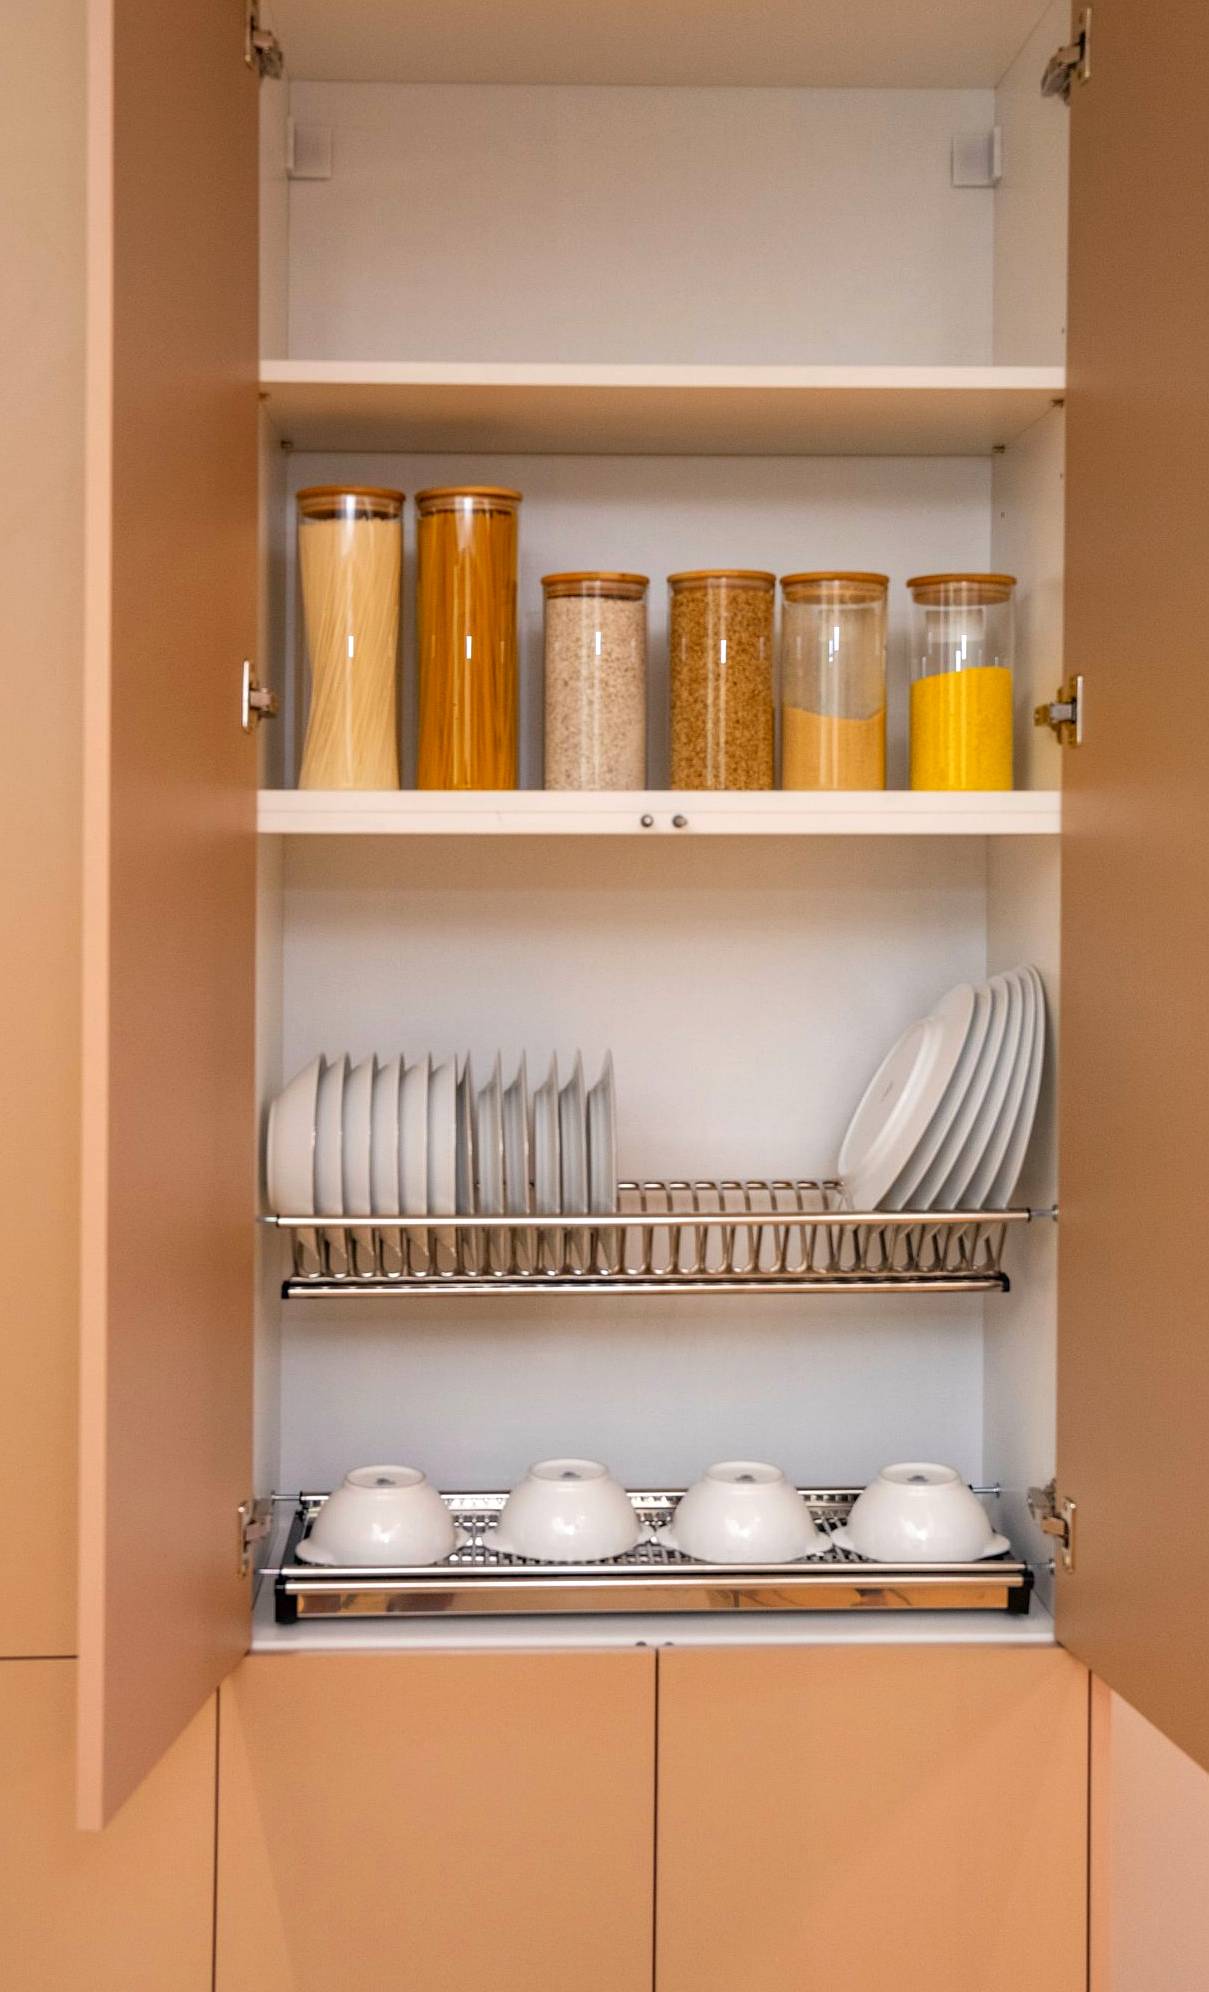
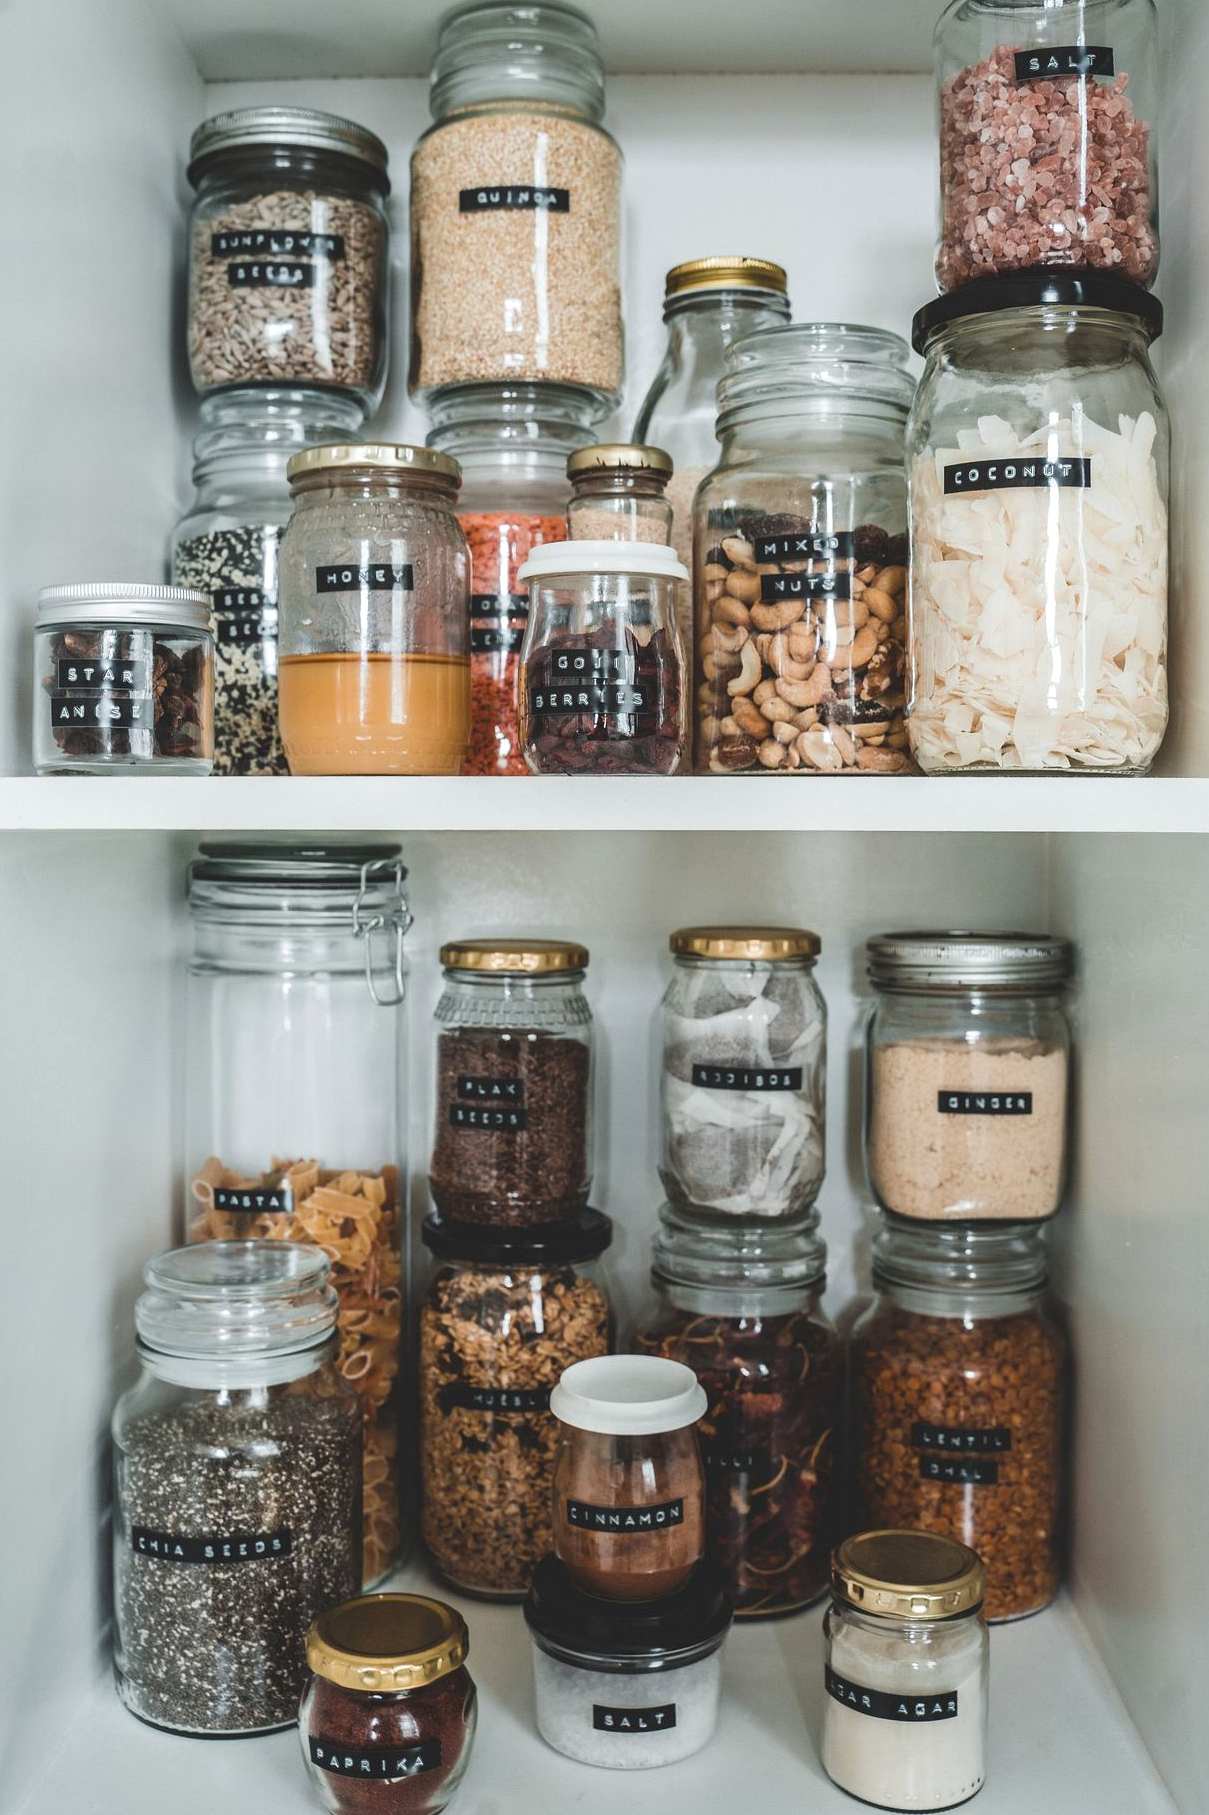
Short on cabinet space entirely? A few of these small kitchen pantry ideas can stand in for the pantry your apartment never gave you.
Step 4: Fix Drawers With Dividers — One Drawer, One Job
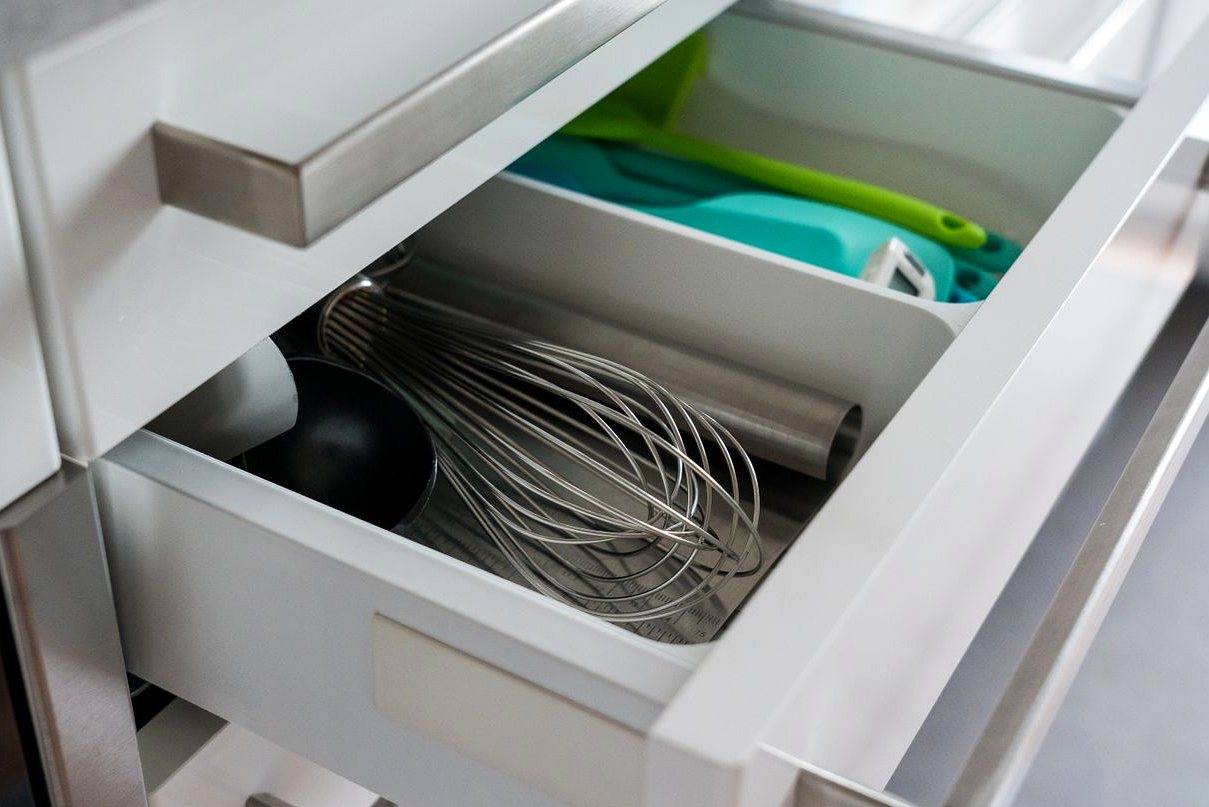
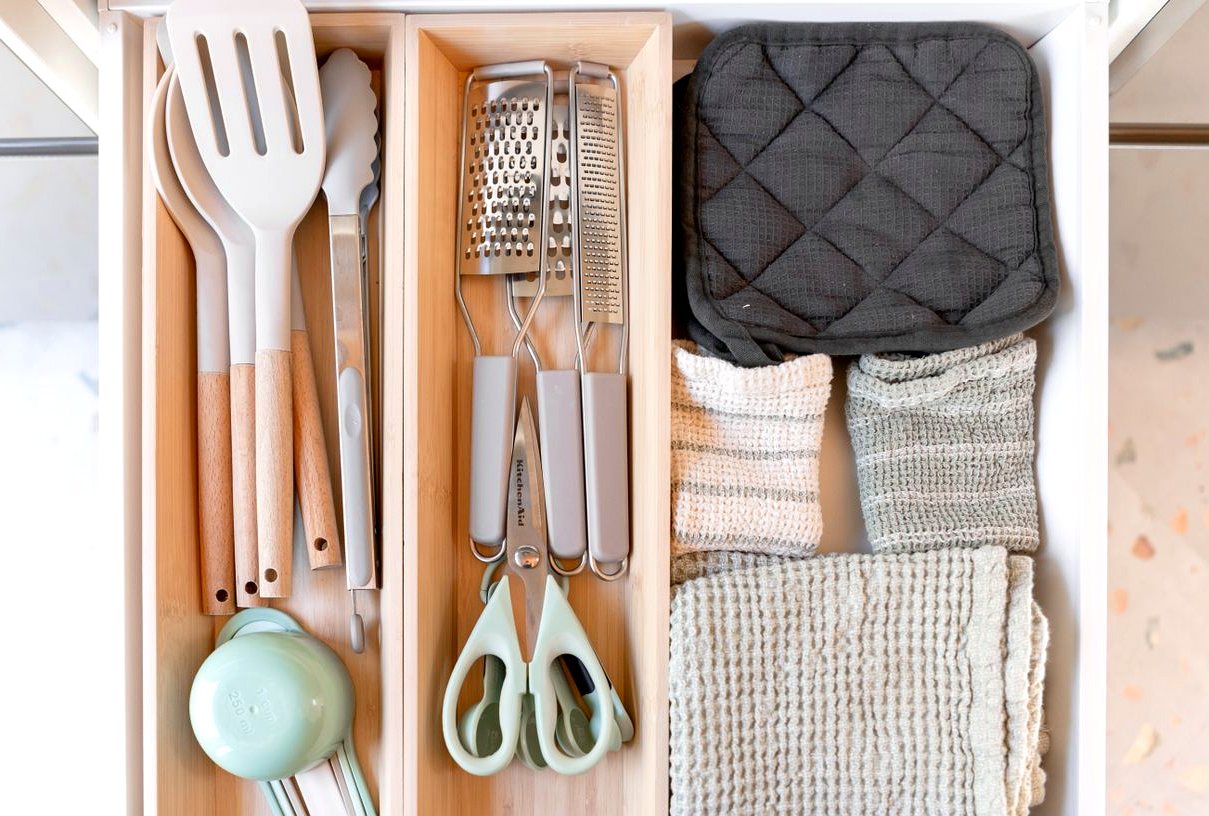
A drawer without dividers is just a box you shake. Small kitchens usually have only two or three drawers, so each one has to work harder:
- Drawer 1 (prep zone): cutlery and everyday utensils only
- Drawer 2 (cooking zone): spatulas, ladles, tongs, scissors, thermometer
- Drawer 3 (if you have one): towels, wraps, and bags — the “soft” drawer
Measure the inside of each drawer (you already did this in the prep step) and fit dividers or small trays to those numbers, not to the organizer’s packaging photo. If a utensil does not fit its section, that is the drawer telling you it belongs in the monthly pile from Step 1. In small kitchen organization, a drawer that fits its dividers is a drawer that stays tidy.
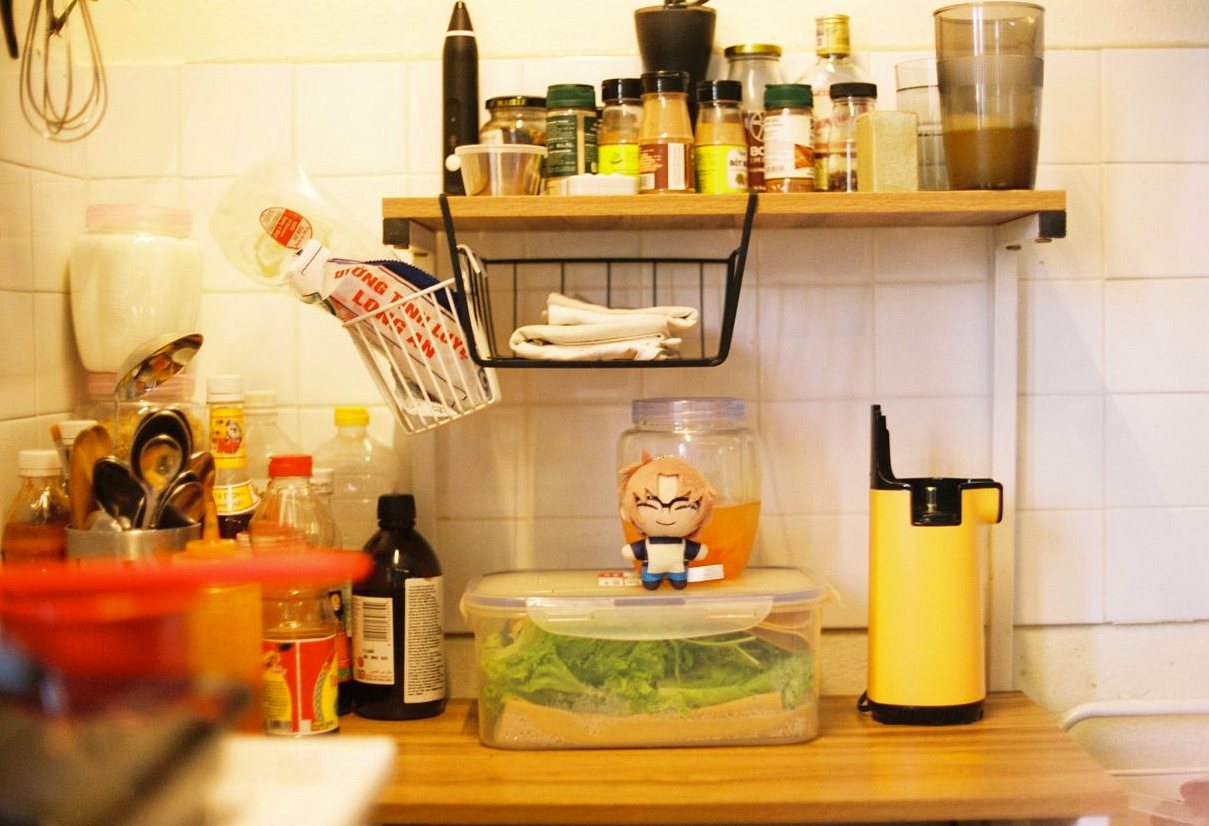
Step 5: Go Vertical — Walls, Doors, and Forgotten Inches
When floor and counter space run out, small kitchens still have walls. Renters can use all of these without a single hole:
- Adhesive hooks and rails on tile or the side of a cabinet for utensils and mugs
- Over-the-door racks on a pantry or cabinet door for wraps, lids, or cleaning supplies
- The inside of cabinet doors — a slim rack or a few adhesive hooks holds measuring cups and pot lids flat against the door
- One open shelf (if your lease allows a bracket, or a freestanding shelf on the counter) for the jars and bowls you use daily
Spices deserve one special rule: keep them in the cooking zone, in a drawer lying flat or in a cabinet beside the stove — never in a rack directly above the heat, where steam and warmth dull them fast. A single row of small jars you can see at a glance beats a deep cabinet you have to excavate. That single rule is a small but important part of small kitchen organization.
Do not forget the two “dead” spaces every small kitchen has. The gap above the fridge fits the monthly appliances from Step 1 (in a basket, so it reads as storage, not clutter), and the space above the cabinets, if yours stop short of the ceiling, is perfect for the roasting pan and serving platters you use a few times a year — up there they are stored, dust-manageable, and completely out of the daily zones. What you should not store in either spot: anything you reach for weekly. Height is a tax you pay in effort, so only rare items should pay it.

Step 6: Tame the Sink and the Cabinet Under It
The sink area collects clutter because it has no rules. Give it two:
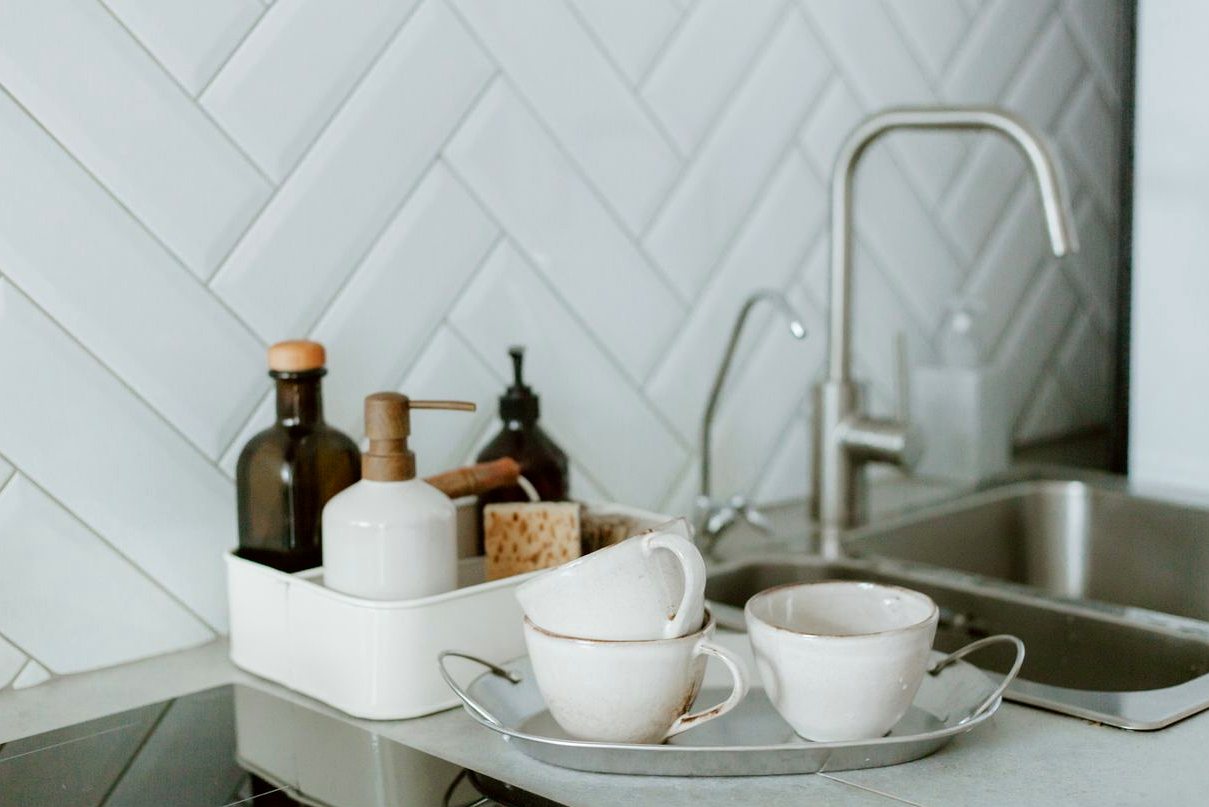
- Only washing-up lives here. Soap, brush, and sponge go in one caddy or tray — if it does not fit the caddy, it does not live by the sink.
- Dishes do not camp. Wash, dry on a small mat or rack, and put away in the same round. A drying pile that lives by the sink is just clutter with good PR.
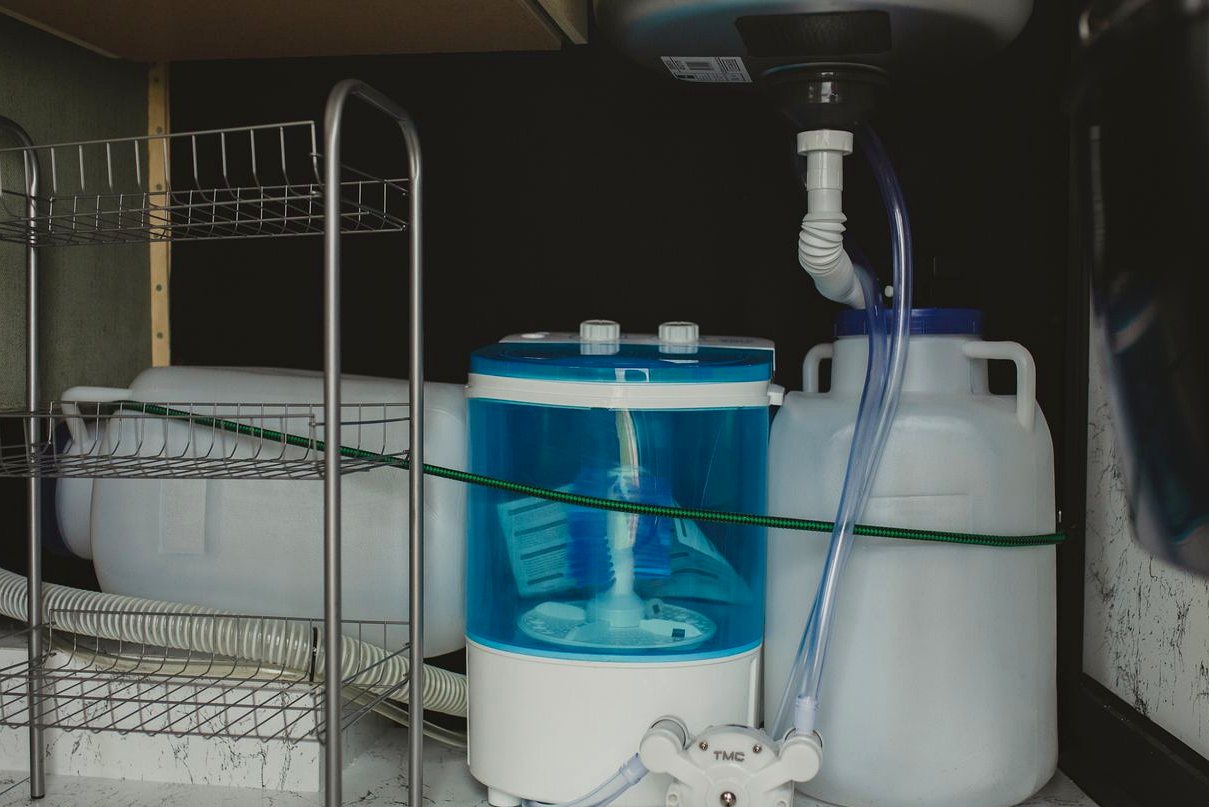
Under the sink, work around the pipes instead of pretending they are not there. Use your clearance measurements: one bin for cleaning bottles, one slim bin or tension-rod trick for trash bags and refills, and nothing stored loose. If a bottle does not fit the bin, it moves to the monthly cabinet. Small kitchen organization under the sink is about working with the pipes, not against them.
Step 7: Set the Keep-Clear Rules (So You Never Reset Again)
Organization fails when it depends on motivation. These three rules run on habit instead:
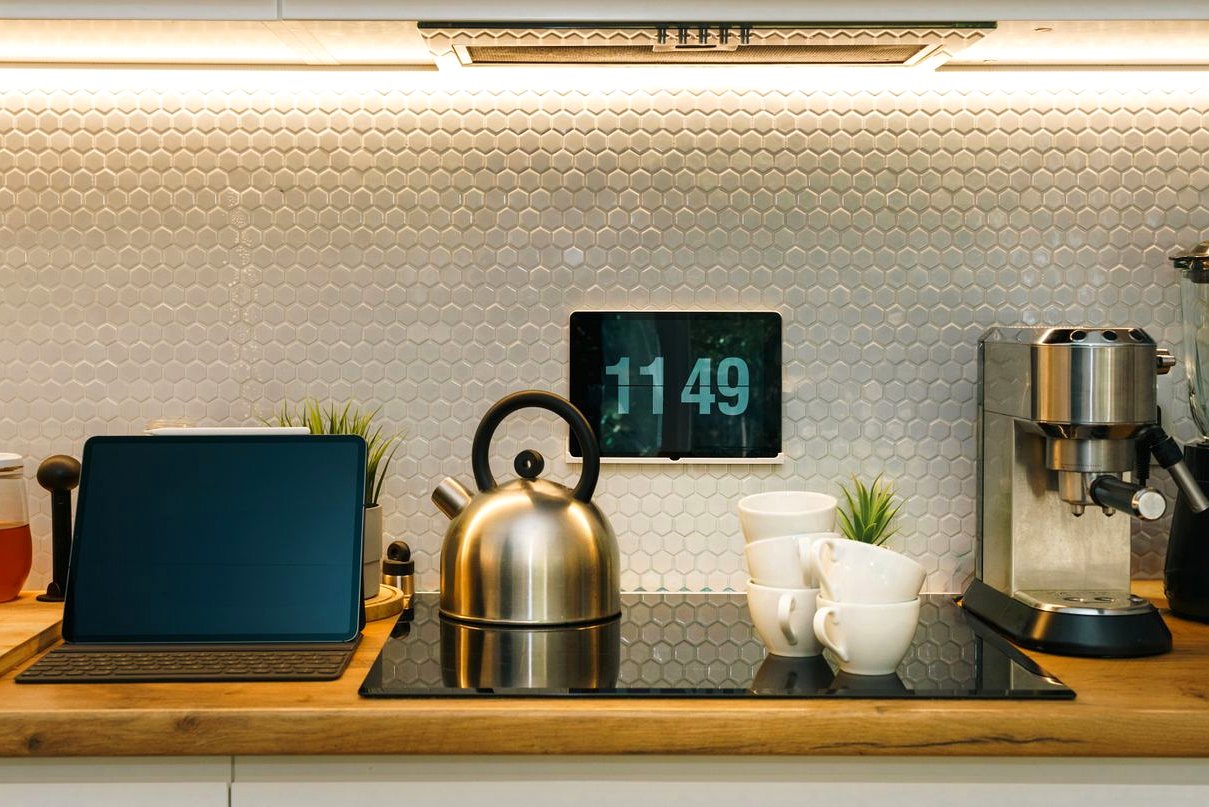
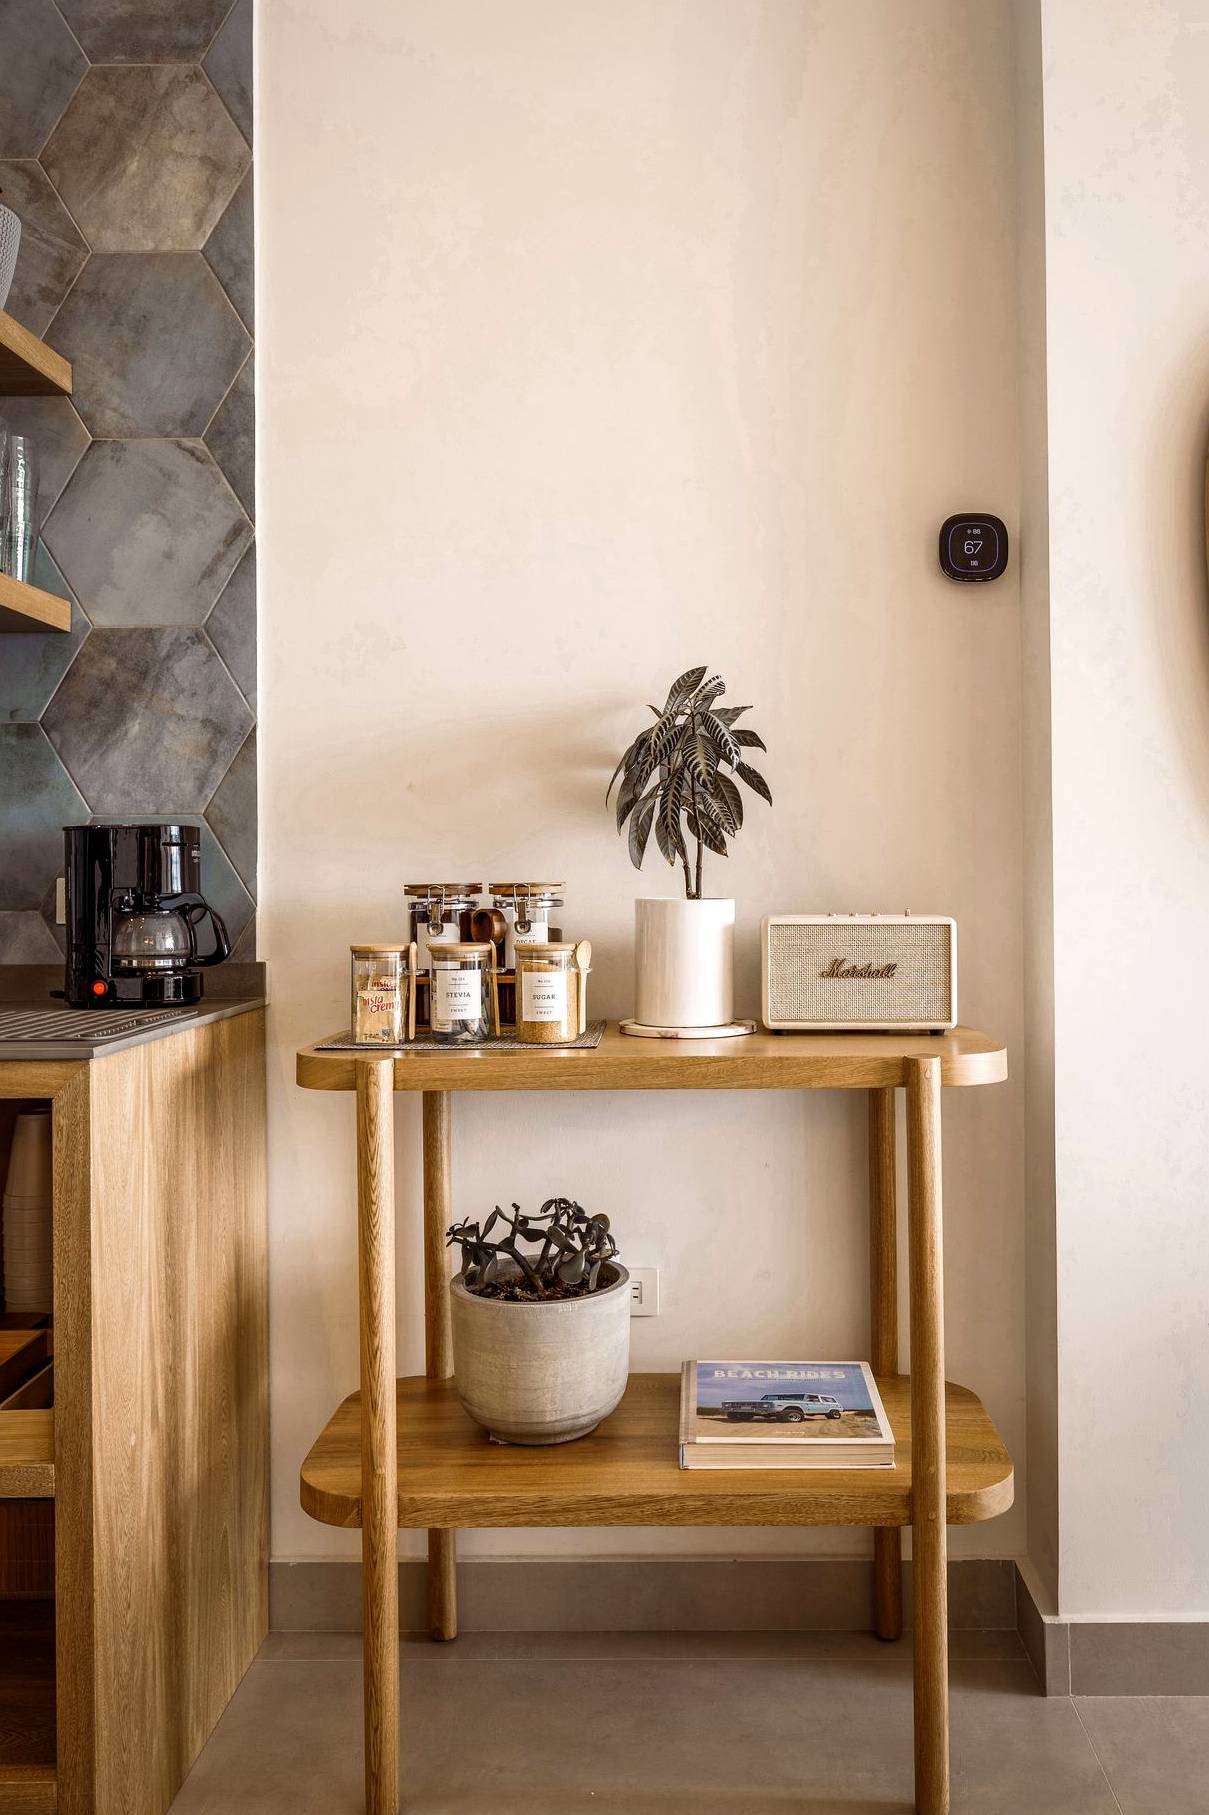
- One station rule. Appliances that stay out must share one defined station — the coffee corner, or the kettle-and-toaster spot. Everything else earns counter space daily or goes in a cabinet.
- The 10-minute nightly reset. Timer on: dishes away, counters wiped and emptied, tomorrow’s items staged. Ten minutes at night replaces two hours every weekend. (This pairs well with the room-by-room systems in my small apartment organization guide.)
- One in, one out. A new gadget means an old one leaves. Small kitchens cannot do “just in case” storage.
5 Mistakes That Undo a Kitchen Reset
- Organizing before sorting. Buying bins for things you should have donated just stores the clutter more neatly. Step 1 always comes first.
- Buying organizers before measuring. If the riser is half an inch too tall for your shelf, you now own two problems. Measure first (you did — in the prep step), buy second.
- Storing by category instead of frequency. All the mugs together looks tidy, but if the two you actually use are behind ten guest mugs, the system fights you daily.
- Giving the counter “just one more thing.” Counter creep is how resets die — one appliance, one paper pile at a time. The one-station rule exists for this exact moment.
- Skipping the landing zone. Mail and groceries will land somewhere. If you do not choose the spot, they choose the prep counter.
Only Have 30 Minutes? Do the Mini Reset
Do these three moves and you will feel 80% of the difference: (1) clear the counters completely and put back only the one appliance station; (2) empty the worst drawer, toss the true junk, and divide what remains with anything you own — a small box, a cutlery tray, even a shoebox lid; (3) set up the landing zone with one basket or tray by the door. Then book the full reset for the weekend while your motivation is warm. That is small kitchen organization at its simplest: fewer things out, and a home for everything left.
The 7-Step Reset Checklist
Save this small kitchen organization checklist for your reset day:
☐ Measure: shelf height, drawer size, under-sink clearance
☐ Empty every cabinet and drawer; wipe shelves
☐ Sort: weekly / monthly / donate / not-kitchen
☐ Assign four zones: prep, cooking, cleaning, landing
☐ Cabinets back by frequency; decant dry goods
☐ Drawers divided — one drawer, one job
☐ Vertical storage: hooks, door racks, one shelf
☐ Sink caddy + under-sink bins fitted around pipes
☐ One appliance station; 10-minute nightly reset starts tonight
What This Reset Costs
- $0 version: boxes for sorting, jars you already own, adhesive hooks you may already have in a drawer somewhere
- Under $25 version: one set of drawer dividers, one stackable shelf riser, one sink caddy — bought only after measuring
Skip the matching-container sets for now. Uniform jars look lovely, but zones and homes for things are what actually make small kitchen organization work.
If you do want to compare ready-made options, IKEA’s kitchen storage range is a useful place to check risers, dividers and racks in standard sizes before you buy.
Small Kitchen Organization FAQs
How long does a full kitchen reset take?
About two hours for a small apartment kitchen, including the sorting step. If you are short on time, do Steps 1–3 today and 4–7 next weekend — the zones still work in the meantime.
I rent. Can I do this without drilling or damaging anything?
Yes — this reset was designed for renters. Adhesive hooks, over-the-door racks, risers, and dividers are all removable and leave no trace. Nothing here requires screws or landlord permission.
My kitchen has almost no cabinets. Where do I start?
Start with Step 5 (vertical) and the landing zone. A door rack plus one shelf can add the storage of an entire extra cabinet, and the pantry ideas for small kitchens cover the no-pantry problem in depth.
What if my kitchen has no drawers at all?
Use the zones anyway: a utensil crock in the cooking zone (the one exception to the clear-counter rule, because it works daily), a cutlery caddy inside the prep cabinet, and a slim over-the-door rack for wraps and towels. Drawers are convenient, not required.
How do I keep it from sliding back in a week?
The nightly 10-minute reset and the one-in-one-out rule. Systems stay tidy when the daily habit is tiny — two hours of weekend re-organizing is a sign the daily habit is missing, not that you need more organizers.
Your Turn
Small kitchen organization does not need more space — it needs fewer, better decisions about the space it has. Empty it, zone it, and give every single thing a home, and your counters will stay clear on their own.
Planning a full seasonal refresh next? These small kitchen Christmas decor ideas are all renter-friendly and most fit right into the zones you just built. And if your whole apartment needs the same treatment, start with the complete small apartment organization system — the kitchen is just room one.
— Linda
You May Also Like
Small Apartment Organization ...
01 November 2026

No Closet? 15 Clothes-Storag ...
15 August 2026
Popular Post


Leave a Comment